How to Create a Google Form with Gemini AI | Step-by-Step Guide

Google Forms is one of the most powerful free tools for collecting data, conducting surveys, gathering feedback, and managing registrations. Whether you're a business owner collecting customer feedback, or an event organizer managing RSVPs, this comprehensive guide will walk you through creating your first Google Form from scratch.
What is Google Forms?
Google Forms is a free, web-based survey and form builder developed by Google. It's part of the Google Workspace (formerly G Suite) and integrates seamlessly with other Google services like Google Sheets, Google Drive, and Gmail.
Key Features of Google Forms
- 100% Free – No subscription required with a Google account
- Easy to Use – Drag-and-drop interface with no coding required
- AI-Powered – Google's Gemini AI can help create forms automatically
- Real-time Collaboration – Multiple users can edit the same form
- Automatic Response Collection – Responses stored in Google Sheets
- Customizable Design – Add themes, images, and videos
- Multiple Question Types – Multiple choice, checkboxes, dropdowns, file uploads, and more
Why Use Google Forms?
Google Forms is ideal for various use cases, including:
| Use Case | Example |
|---|---|
| Surveys | Customer satisfaction surveys, market research |
| Event Registration | Workshop signups, RSVP collection |
| Contact Forms | Website inquiry forms, feedback collection |
| Order Forms | Product orders, service requests |
| Job Applications | Hiring forms, volunteer applications |
| Polls | Quick votes, opinion gathering |
Step-by-Step Guide to Creating a Google Form
Step 1: Access Google Forms
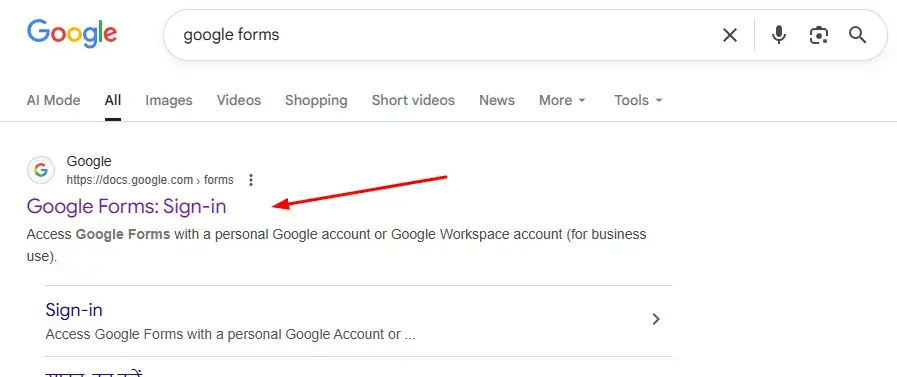
To get started, open your web browser and search for "Google Forms" on Google. Click the first link in the search results, or go directly to:
👉 https://docs.google.com/forms
Note: You'll need a Google account to create forms. If you don't have one, click "Create account" and follow the prompts to sign up for free.
Once logged in, you'll see the Google Forms homepage with your recent forms and options to start a new one.
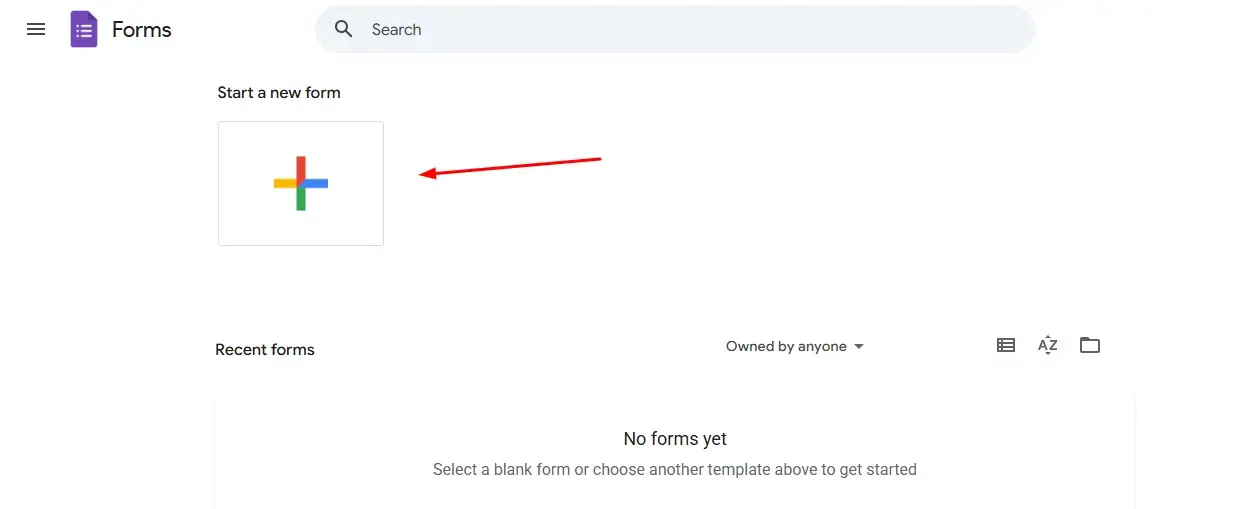
Step 2: Start a New Form
On the Google Forms homepage, look for the "Start a new form" click on the "+" option to create a new form from scratch.
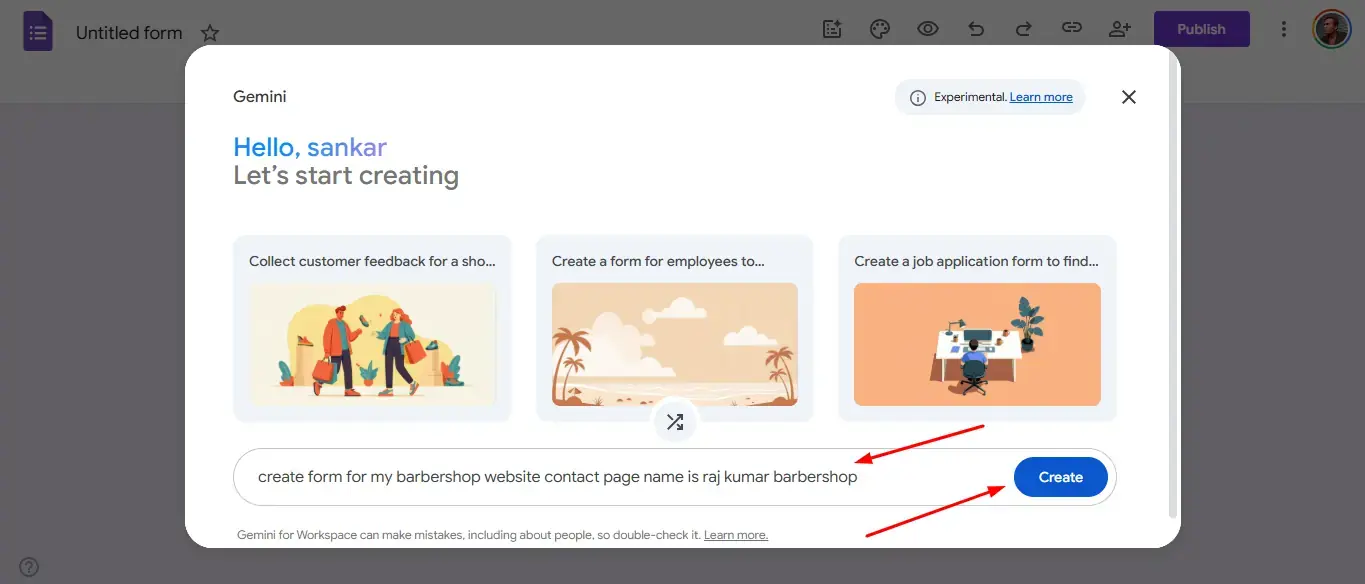
Step 3: Use Gemini AI to Create Your Form
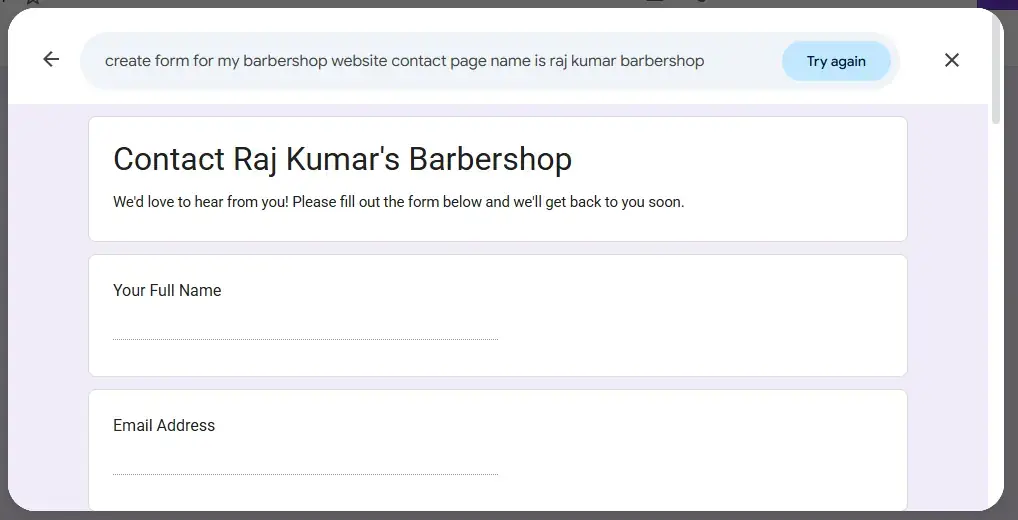
Google Forms now includes Gemini AI integration to help you create forms faster. When you start a new form, Gemini will prompt you to describe what kind of form you want to create.
How to use Gemini AI:
- A text box will appear asking you to describe your form
- Enter a clear description of your form's purpose (e.g., "Customer feedback survey for a restaurant with questions about food quality, service, and overall experience")
- Click the "Create" button
Gemini will automatically generate relevant questions based on your description, saving you significant time.
Step 4: Review and Refine AI-Generated Content
After Gemini creates your form, review the generated questions to ensure they meet your needs.
If you need changes:
- Add more questions – Click the "Try again" button to regenerate with more questions
- Modify the prompt – Provide more specific details for better results
Take your time to review each question and make sure the form captures all the information you need.
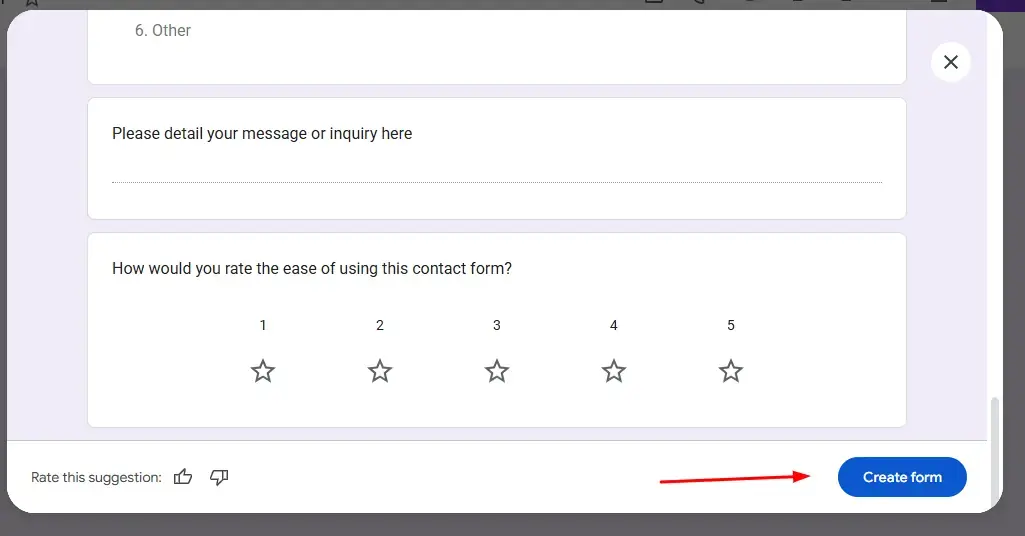
Step 5: Finalize the AI-Generated Form
Once you're satisfied with the AI-generated questions, scroll down to the bottom of the suggestions panel and click the "Create form" button.
This will apply all the generated questions to your form and open the full form editor where you can make additional customizations.
Step 6: Customize Your Form
Now you're in the full form editor. Here's what you can do:
Add More Questions
Click the "+" (plus) button on the right sidebar to add new questions. Available question types include:
- Short answer – Single-line text responses
- Paragraph – Multi-line text responses
- Multiple choice – Select one option from a list
- Checkboxes – Select multiple options
- Dropdown – Select from a dropdown menu
- File upload – Allow respondents to upload files
- Linear scale – Rate on a scale (e.g., 1-5)
- Multiple choice grid – Matrix-style questions
- Date – Date picker
- Time – Time selector
Customize Appearance
- Click the palette icon to change colors and fonts
- Click the eye icon to preview your form
- Add images or videos to questions for visual context
When you're happy with your form, navigate to the "Responses" tab to set up response collection.
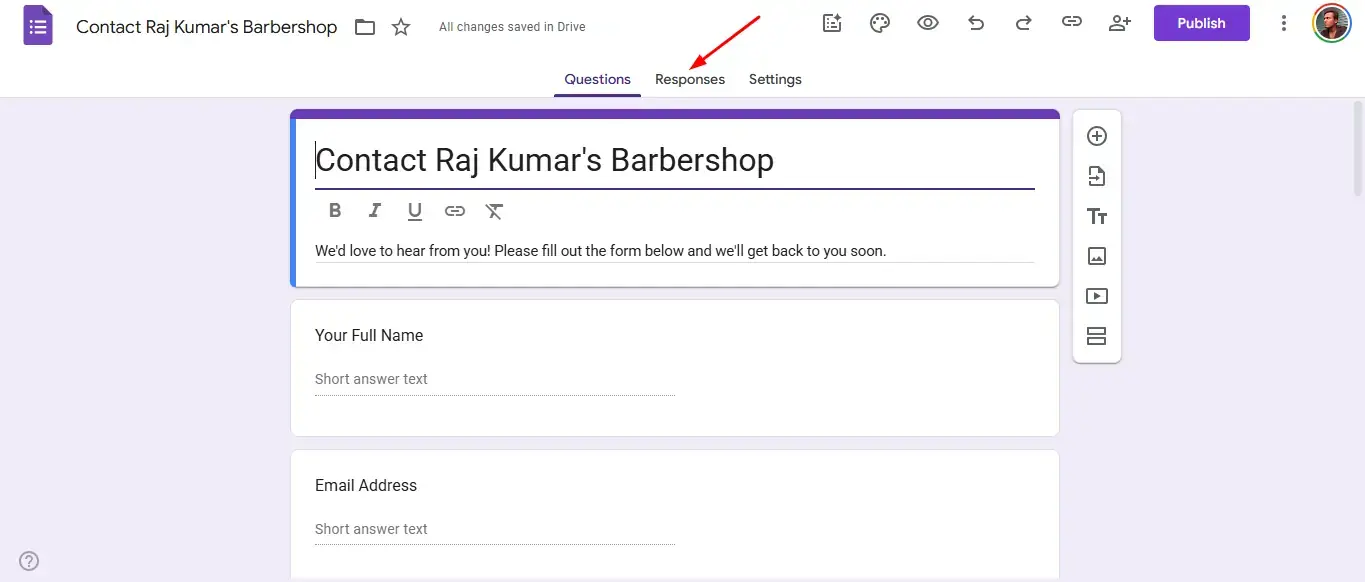
Step 7: Set Up Response Collection
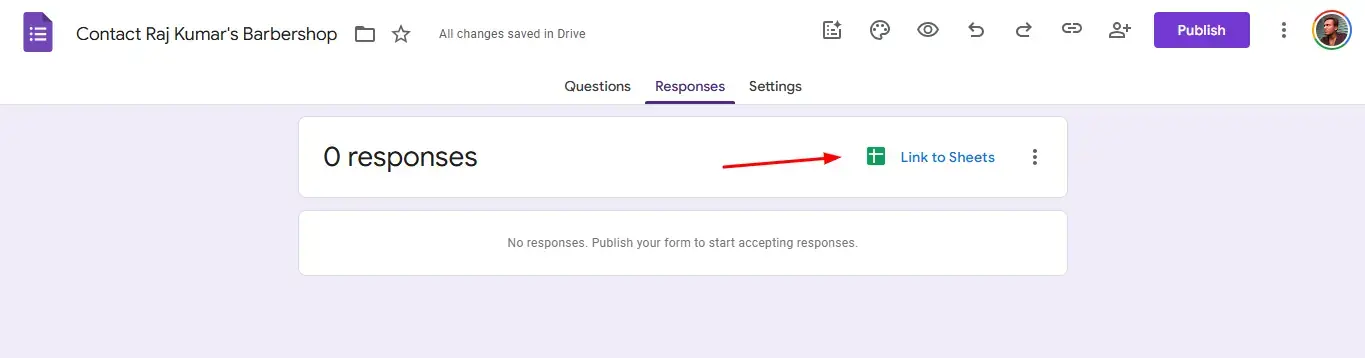
Click on the "Responses" tab at the top of the form editor. This is where you'll manage how responses are collected and stored.
To connect your form to a Google Sheet for easy data analysis, look for the "Link to Sheets" button (spreadsheet icon) and click it.
Pro Tip: Linking to Google Sheets allows you to use powerful features like filtering, charts, and data analysis on your responses.
Step 8: Create a Response Spreadsheet
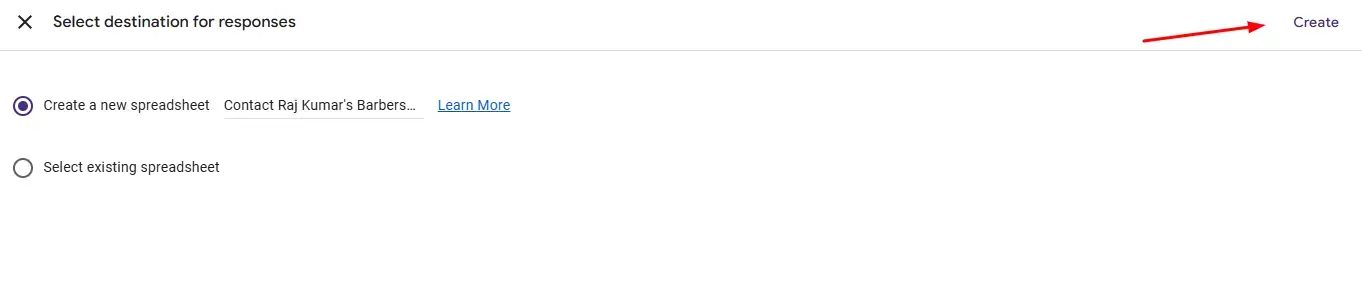
When you click "Link to Sheets," a dialog box will appear with two options:
- Create a new spreadsheet – Google will create a new Google Sheet specifically for this form's responses
- Select existing spreadsheet – Link to a spreadsheet you've already created
For most users, select "Create a new spreadsheet" and click the "Create" button.
The spreadsheet will have the same name as your form by default, but you can rename it later.
Step 9: Verify Your Spreadsheet Connection
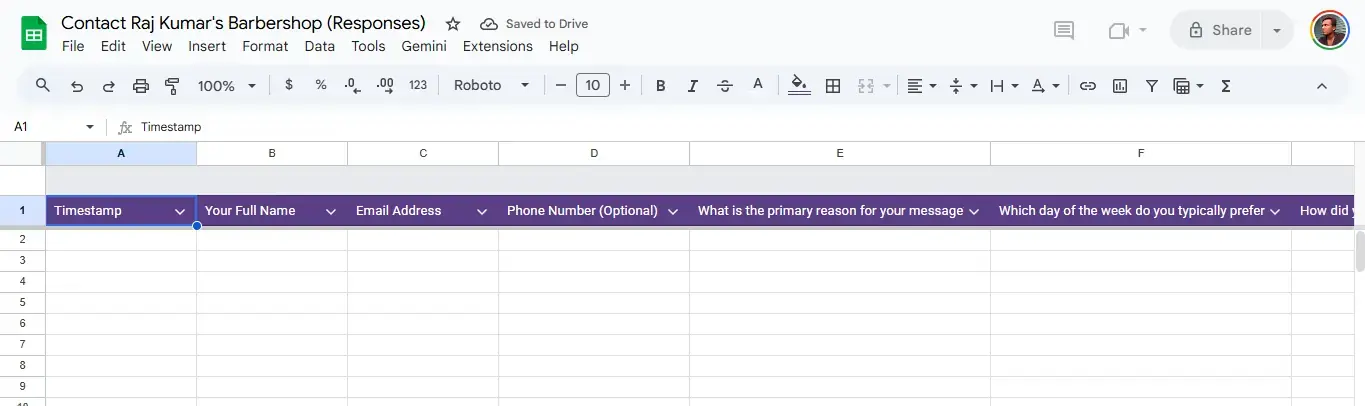
After clicking "Create," Google will automatically open your new spreadsheet in a new browser tab. You'll see column headers matching your form questions.
As responses come in, each submission will appear as a new row in this spreadsheet, along with a timestamp.
Useful features in Google Sheets:
- Set up email notifications for new responses
- Create charts and visualizations
- Use filters to analyze specific responses
- Share the sheet with team members
Once verified, go back to your Google Forms tab to continue with publishing.
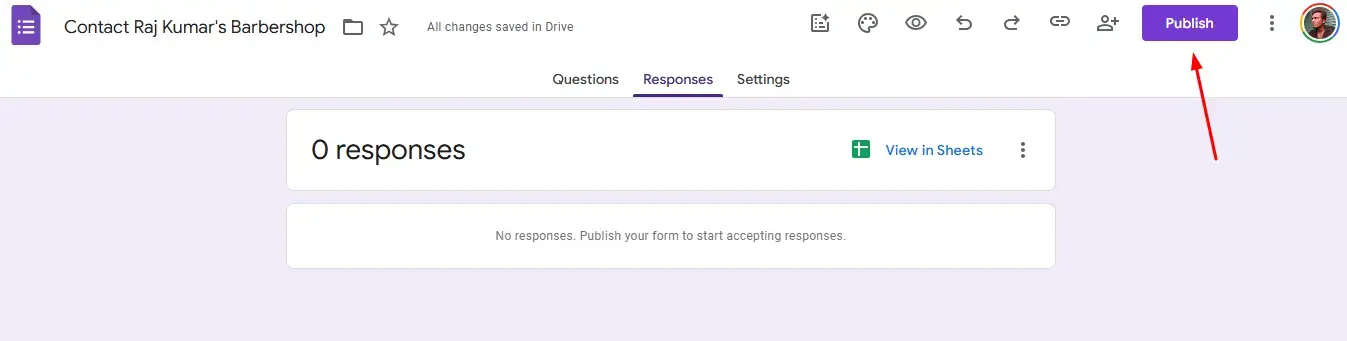
Step 10: Publish Your Form
Now it's time to make your form available to respondents. Click the "Publish" button located in the top-right corner of the form editor.
This will open the publishing options dialog where you can configure who can access your form.
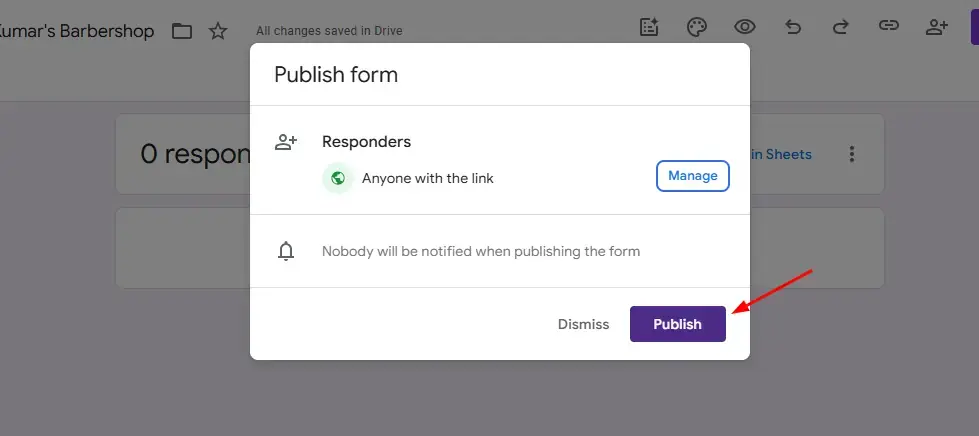
Step 11: Confirm Publishing Settings
Review your publishing settings:
- Who can respond – Choose between "Only people in your organization" or "Anyone with the link"
- Collect email addresses – Toggle on if you need to track who submitted responses
- Limit to 1 response – Prevent multiple submissions from the same user
Once you've configured your preferences, click the "Publish" button to make your form live.
🎉 Congratulations! Your Google Form is now created and published, ready to collect responses.
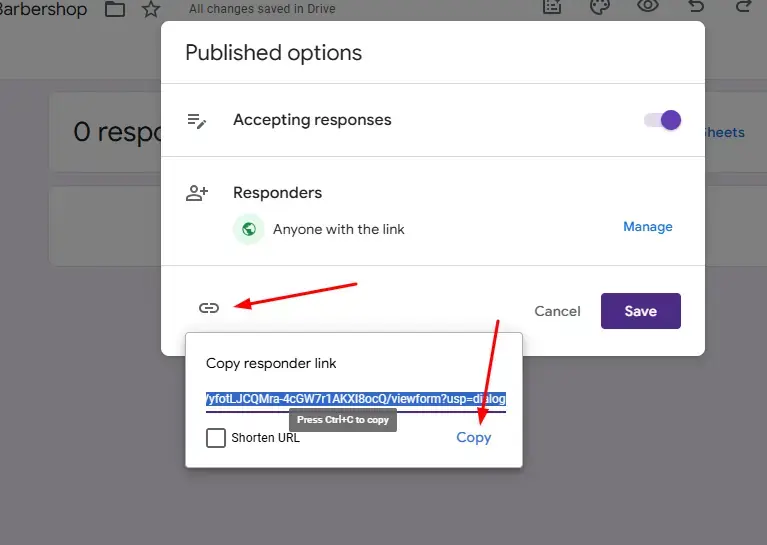
Step 12: Share Your Form Link
After publishing, you'll see options to share your form. Click "Copy link" to get the shareable URL.
Ways to share your form:
- Direct link – Share via email, messaging apps, or social media
- Email – Send directly from Google Forms to specific recipients
- QR Code – Generate a QR code for physical distribution
Copy the link and share it with your target audience.
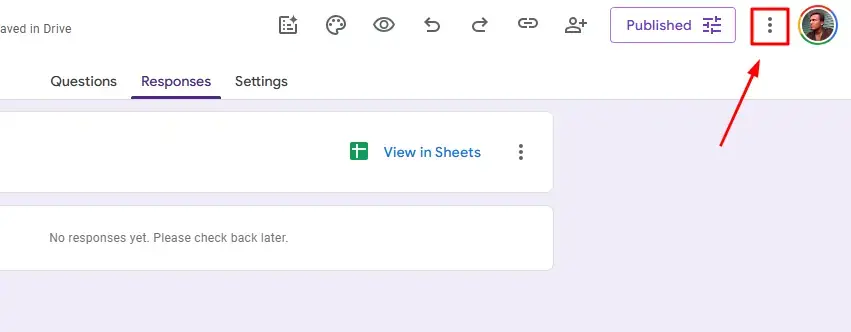
Step 13: Embed Options for Websites
If you want to embed your form on a website, click the three-dot menu (⋮) in the top-right corner of the form editor to access additional options.
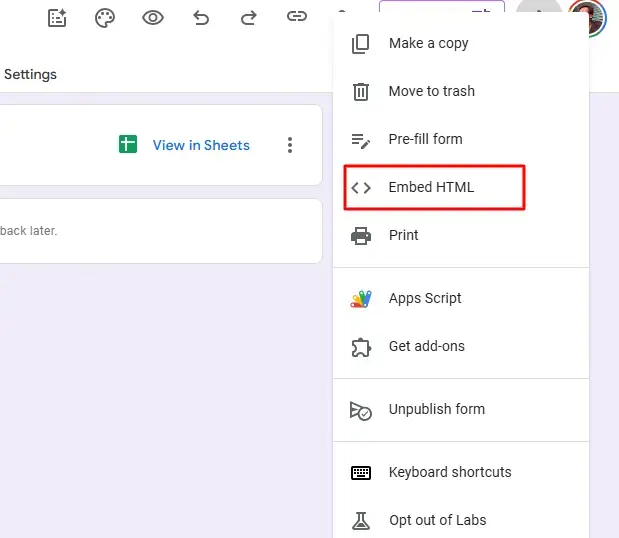
From the dropdown menu, you'll find the embed option along with other useful features like:
- Pre fill form
- Move to trash
- Pre fill form
- Unpulish form
Step 14: Access the Embed HTML Option
In the sharing dialog or dropdown menu, click on "Embed HTML" to get the code snippet for your website.
This option allows you to display your Google Form directly on any webpage, making it convenient for visitors to fill out without leaving your site.
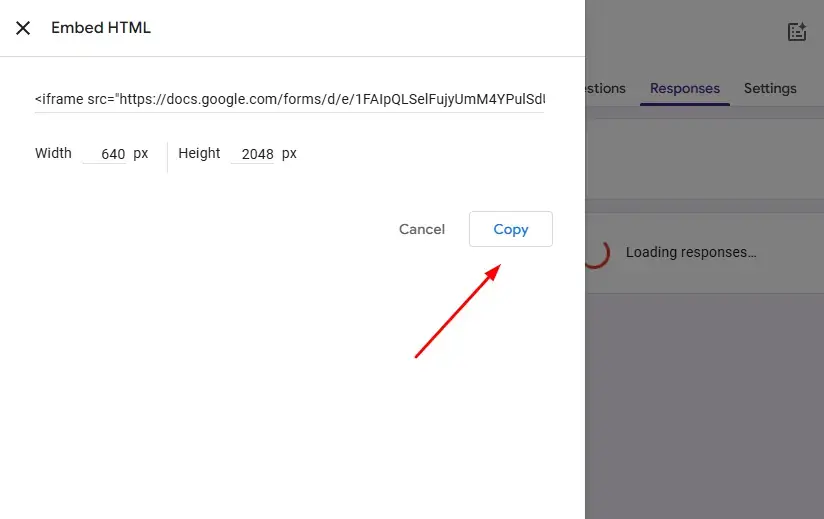
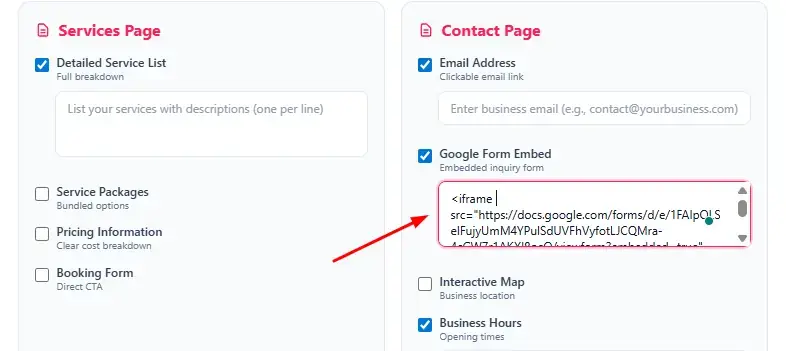
Step 15: Copy and Use the Embed Code
A new window will display the embed code (an iframe HTML snippet). You'll also see options to customize the width and height of the embedded form.
How to use the embed code:
- Adjust the width and height values if needed
- Click "Copy" to copy the HTML code
- Paste the code into your website's HTML where you want the form to appear
💡 Pro Tip: If you're building a local business website, you can use our Local Business Website Prompt Generator tool to create a complete website with your embedded Google Form integrated seamlessly.
Pro Tips for Better Forms
1. Keep Forms Short and Focused
Only ask for information you truly need. Long forms have lower completion rates.
2. Use Conditional Logic
Use the "Go to section based on answer" feature to create dynamic forms that show relevant questions based on previous answers.
3. Make Important Questions Required
Mark essential questions as Required to ensure respondents don't skip them.
4. Test Before Sharing
Always preview your form and submit a test response to ensure everything works correctly.
5. Set Up Email Notifications
In Responses settings, enable email notifications to get alerted when someone submits a response.
6. Use Clear Question Labels
Write simple, easy-to-understand questions to avoid confusion.
7. Add Descriptions When Needed
Use the description field below questions to provide additional context or instructions.
Frequently Asked Questions
Is Google Forms completely free?
Yes, Google Forms is 100% free with a standard Google account. Google Workspace subscribers get additional features like custom branding.
How many responses can Google Forms collect?
There's no limit on the number of responses for free accounts. Forms can collect millions of responses.
Can I accept file uploads in Google Forms?
Yes, Google Forms supports file upload questions. Uploaded files are stored in your Google Drive.
Is Google Forms secure?
Google Forms uses enterprise-grade security. You can also limit responses to specific users and require respondents to sign in.
Can I use Google Forms offline?
No, Google Forms requires an internet connection to create and submit forms.
How do I close a form to stop accepting responses?
In the Responses tab, toggle off "Accepting responses" to close the form.
Can I integrate Google Forms with other apps?
Yes, Google Forms integrates with Google Sheets, and you can use Zapier or Google Apps Script for additional integrations.
Conclusion
Google Forms is an incredibly versatile tool that makes data collection simple and efficient. With the new Gemini AI integration, creating professional surveys and forms is easier than ever. Whether you're collecting customer feedback or managing event registrations, Google Forms has you covered.
Start creating your first form today: Google Forms
Did this guide help you? Share it with others who might benefit from learning how to create Google Forms!
[!NOTE] Have any questions or doubts? If you're stuck on a step or need further help with Google Forms, feel free to ask in the comments section below! I'm here to help.
Related Posts

Whiteboard Animation Generator with Python: A Complete Step-by-Step Guide
21 min · 103 views

How to Create and Host a Website for Free Using Claude AI and Cloudflare Pages (2026 Guide)
6 min · 2,863 views

How to Get a Free GLM-5 API Key and Use It for Coding Projects (2026)
4 min · 2,989 views

💬 Comments (0)
Leave a Comment
No comments yet. Be the first to comment!